How to Build a Temporary Wood-fired Brick Pizza Oven with Cheap, Easy to Find Materials
This is a great, low-cost project for someone who wants to test out the ins-and-outs of brick oven cooking. Super fast and easy to build, and with minor modifications, it can be assembled semi-permanently and get you through a season of baking delicious breads and pizzas.
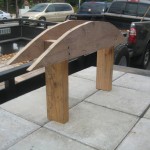
For more specifics and tips on the construction of this oven, I’ve posted details on making and using the arch jig, and a full parts list with build notes from a reader who built one from this page.
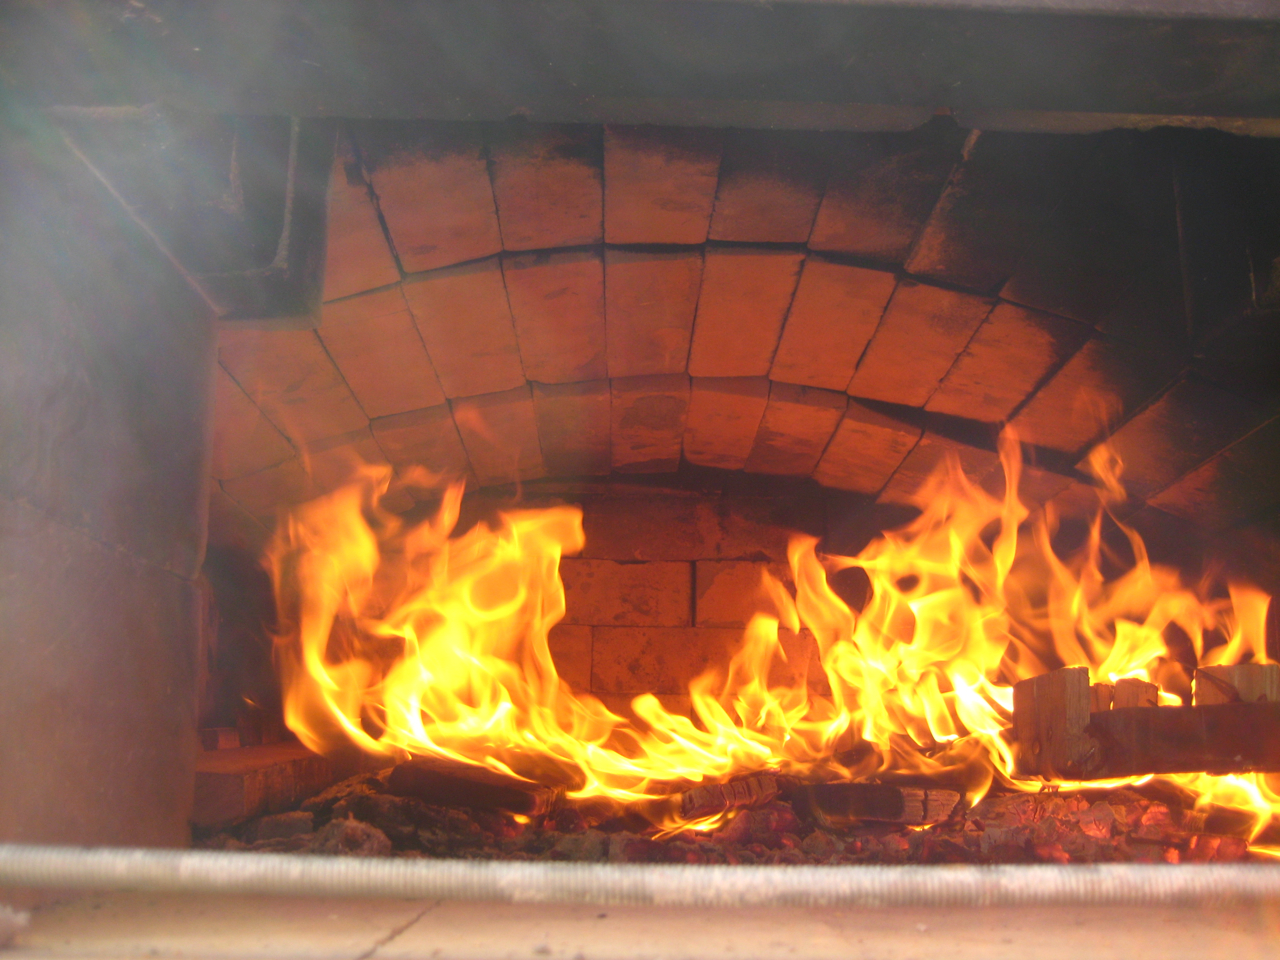
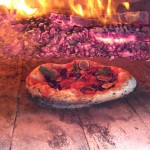
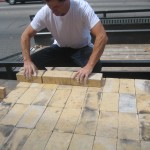
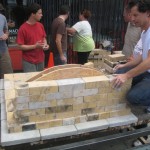
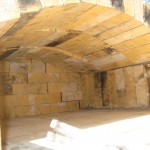
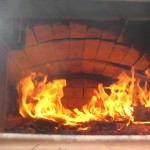
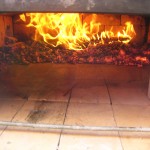
I attended a fantastic pizza making event at Machine Project (instructor: Michael O’Malley) that included the construction and firing of a DIY temporary brick pizza oven – the ultimate in pizza cooking. Hugely educational and inspiring, even for a committed pizza fanatic such as myself. The oven, built, fired up, and torn down over the course of an afternoon, worked amazingly well – I cooked the best pizza I’ve ever made, by far.
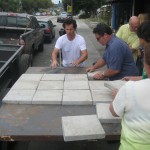
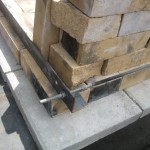
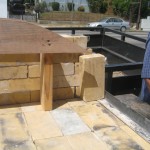
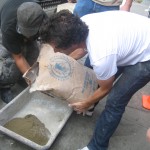
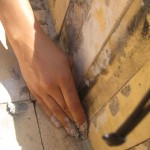
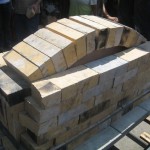
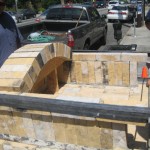
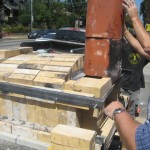
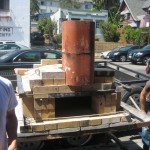
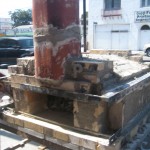
Here’s a basic rundown on how the pizza oven was assembled. Firebricks and fireclay are available at kiln and pottery supply stores. Use these over standard red bricks as the red bricks tend to pop or explode when reaching extreme temperatures. The metal table might be the most challenging/expensive component used – watch Craigslist for used welding tables. Pavers are found cheaply at Home Depot, Lowes, or gardening/hardware stores.
(Note: bricks are heavy, and brick ovens generate a lot of heat. Please use proper precautions to ensure that you don’t burn or crush yourself while making or using your oven.)


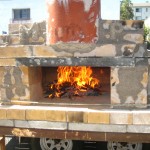
Finally, here’s a video of the oven we built in action. Enjoy!
Don’t forget, you’ll need to get a pizza peel and a decent slicer. I like to use a wood peel for preparation and inserting (dough doesn’t stick as much to wood), and a metal peel to take the pizza out. This design doesn’t need a very long handle, but larger ovens will warrant it.
The Mario Batali pizza slicer is the best slicer I’ve found. Cleaver-like satisfying heft, oversized sharp, smooth wheel and comfortable handle. It cuts through anything without dragging the pizza across the plate. I actually bring this with me to friends’ pizza parties now–it’s spoiled me.
If you have any questions, comments discoveries or discoveries, please post them in the comments.

Hi, I'm Mike. I’m the executive editor of Make: magazine, and host of Discovery channel’s Punkin' Chunkin' and Catch It Keep It, TV shows where I build and explain crazy machines that crush stuff, blow things up, shoot fire, all in the name of science.
I've previously worked at Wired and ReadyMade magazines, writing about how to utilize new technology in our everyday lives.
This site is where I keep a list of instructions for fun projects I've done, am working on, or draw inspiration from. I encourage everyone to get involved — get up and do something!