Make a Perforated Pizza Peel for Improved Pizza Making
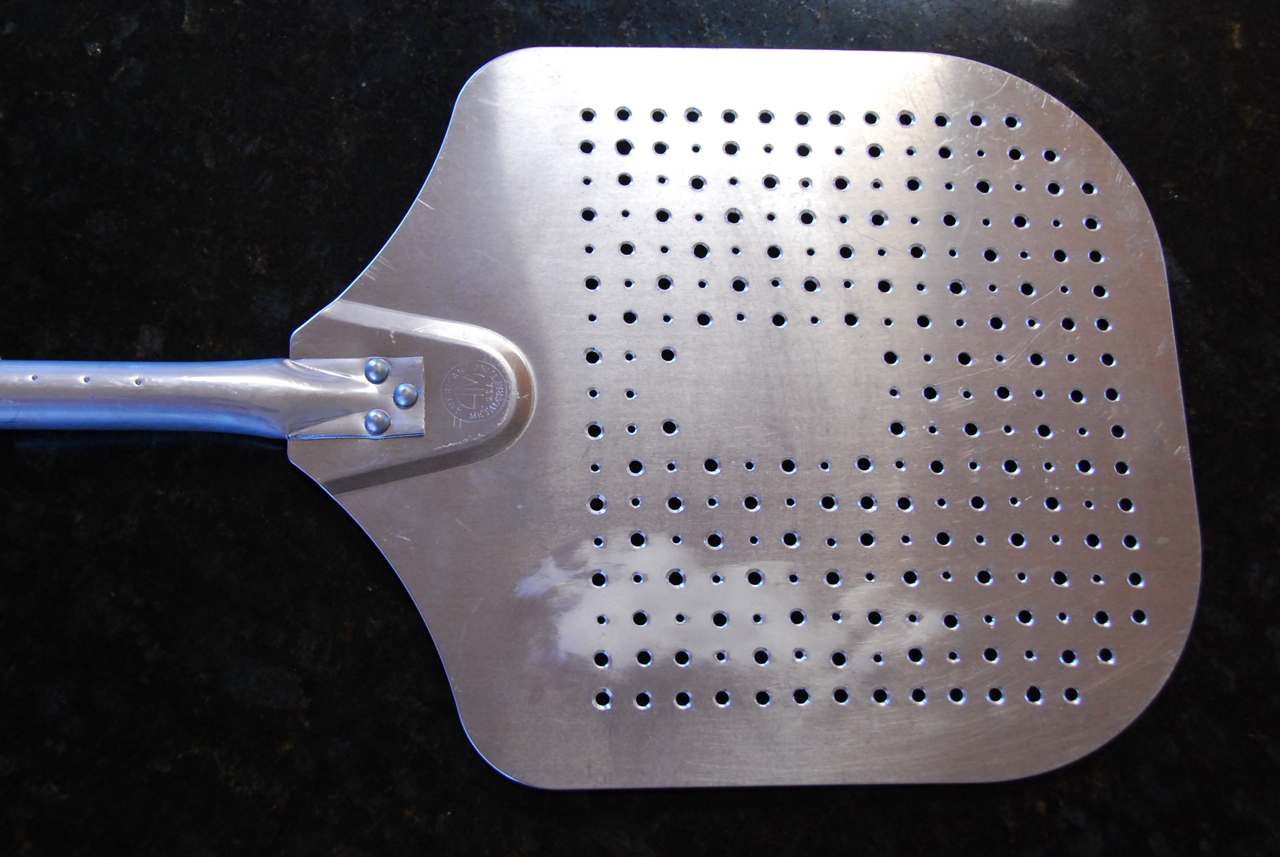
After getting to use Pizzahacker’s perforated pizza peel, I decided to make a DIY version for myself. The idea behind a perforated peel is that it reduces the amount of flour that gets underneath the dough when placing it in the oven (too much flour will brown up and taste bitter), and possibly helps keep things from sticking by reducing the amount of friction underneath the dough. Here are the steps I took to make mine; results of how well it works will be posted shortly.

Materials needed:
-Aluminum pizza peel (I’m using a 12″x14″ peel that works well for my oven and pizza size)
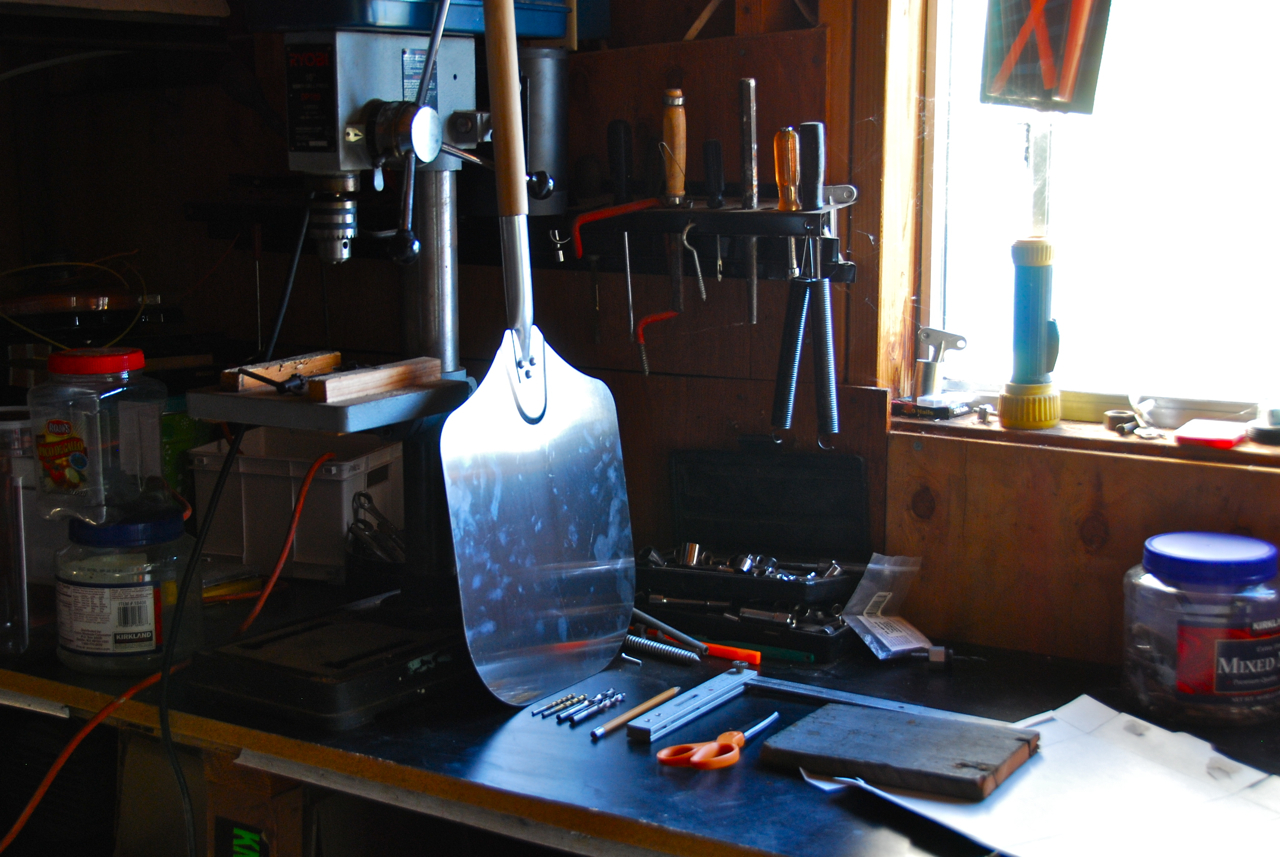
-Drill press
-Small drill bit (about 1/16″)
-Slightly larger drill bit (~3/16″)
-Larger drill bit (3/8″ or 1/2″) or countersink drill bit
-Flat piece of cardboard (I used a cereal box)
-Two printed pages of the perforation template (PDF) (A grid I made that has the holes place every 1.5cm.)
-Flat piece of scrap wood to go underneath the peel when drilling
-Pencil, masking tape, ruler and scissors
Step one:
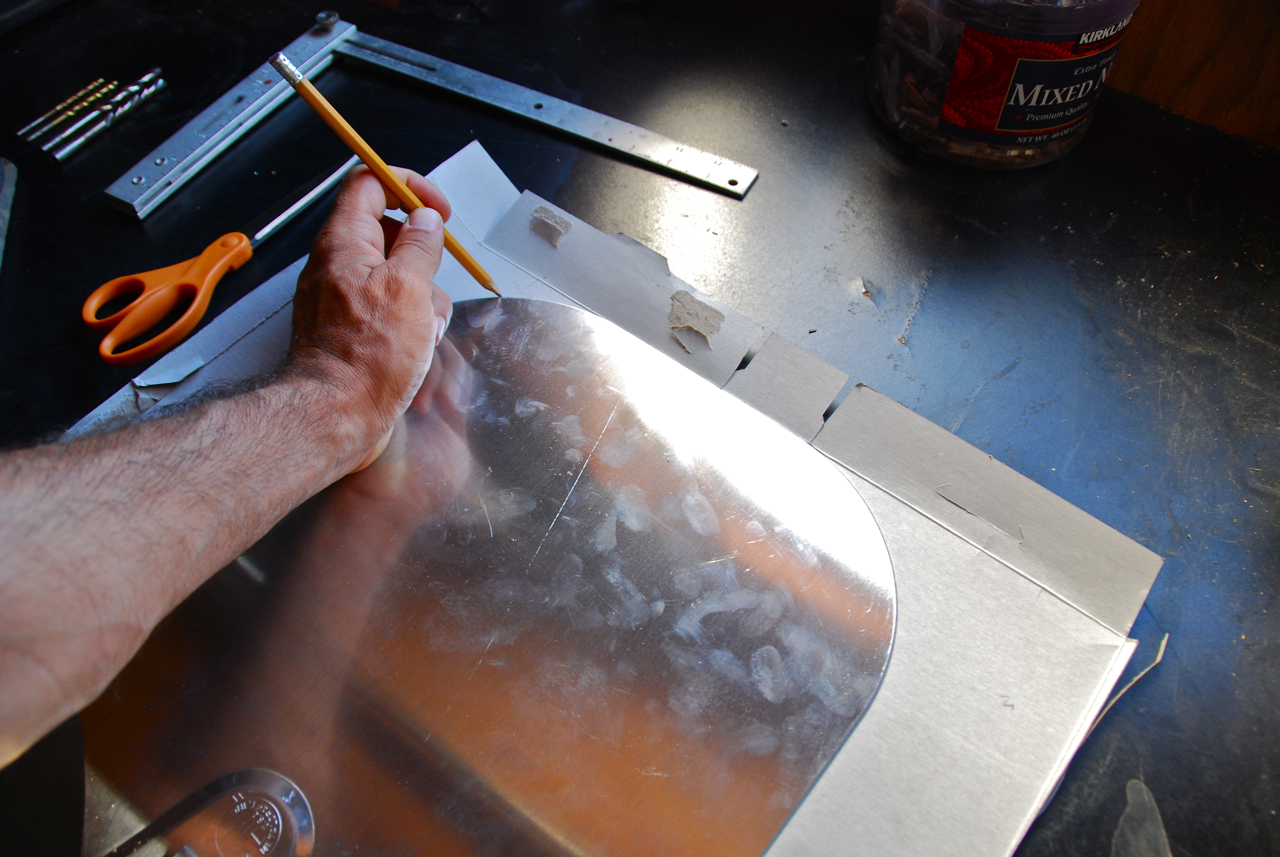
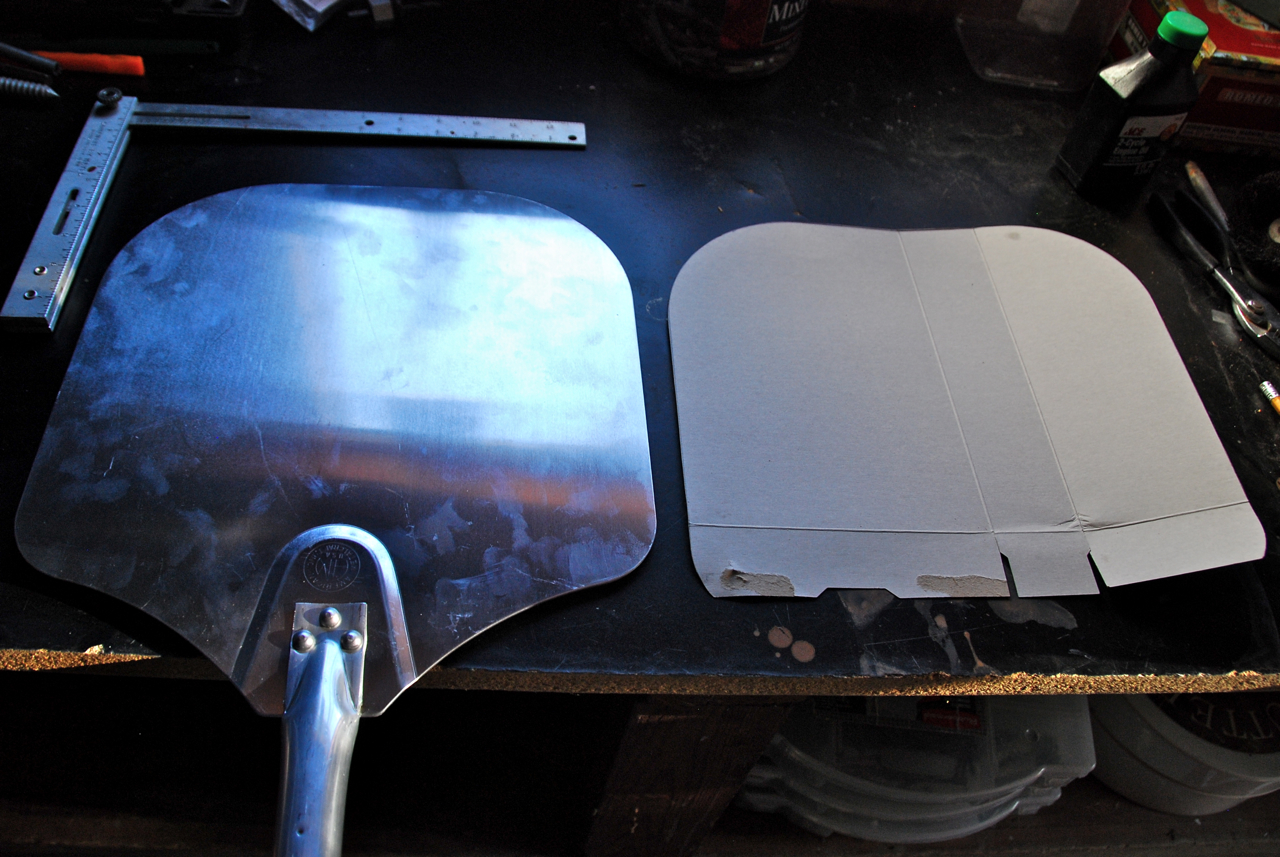
Trace the outline of your peel on the cardboard. Cut the coardboard to match the peel. Find the halfway point (left to right) on the cardboard and mark it with a line.
Step two:
Place the center dot of the template printout to match with the center line on the cardboard. The center dot is the seventh dot over.
I decided to leave a small gap in the front of the peel, so my placement had the printout taped to the cardboard portrait orientation, with the larger margin on the top edge.
The paper won’t be wide enough for the cardboard, so cut a strip from the second printout for the left and right side, and line it up with the dots on the first piece. Tape in place, cut around the the cardboard and tape the whole thing to the peel.
Mark which holes you don’t want to drill – I crossed them out with a pencil to leave a margin on the top and sides.
Step three:
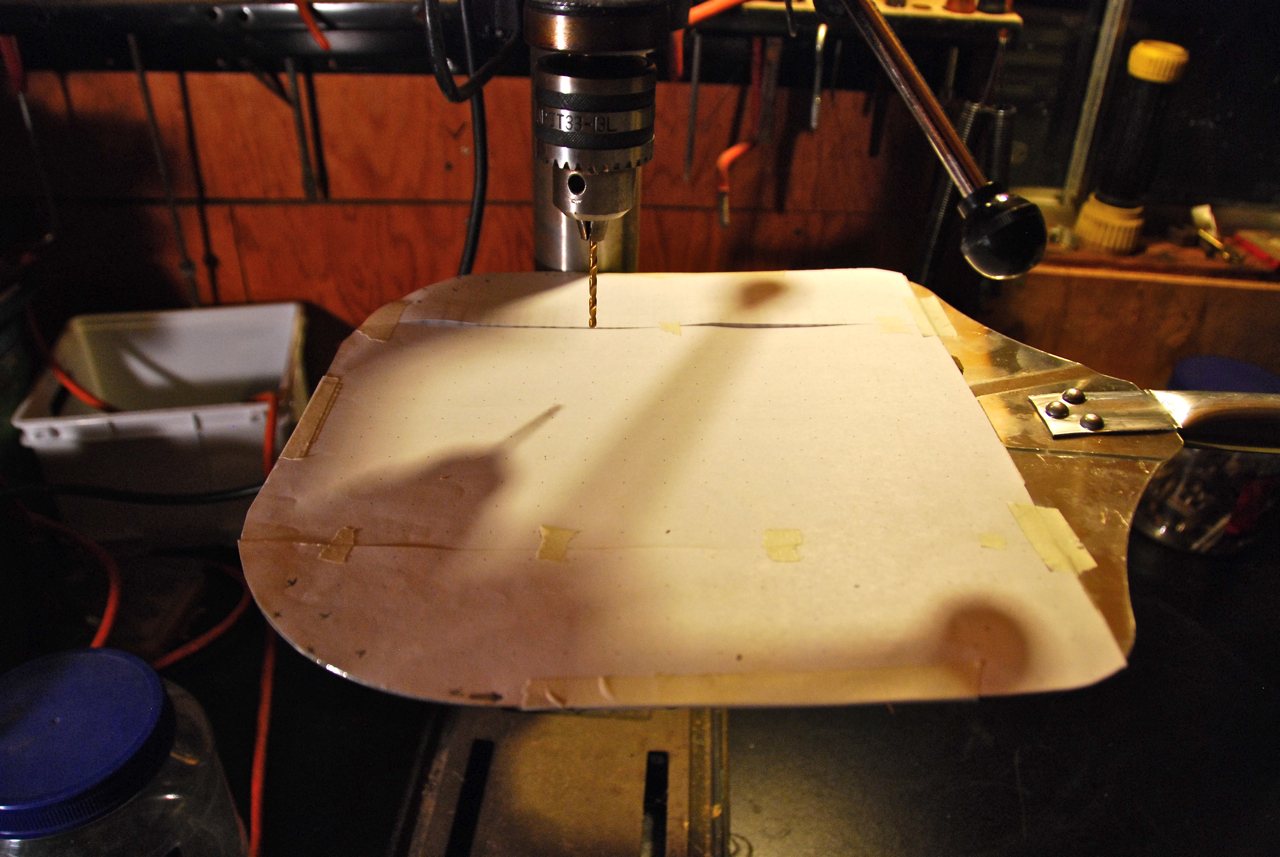
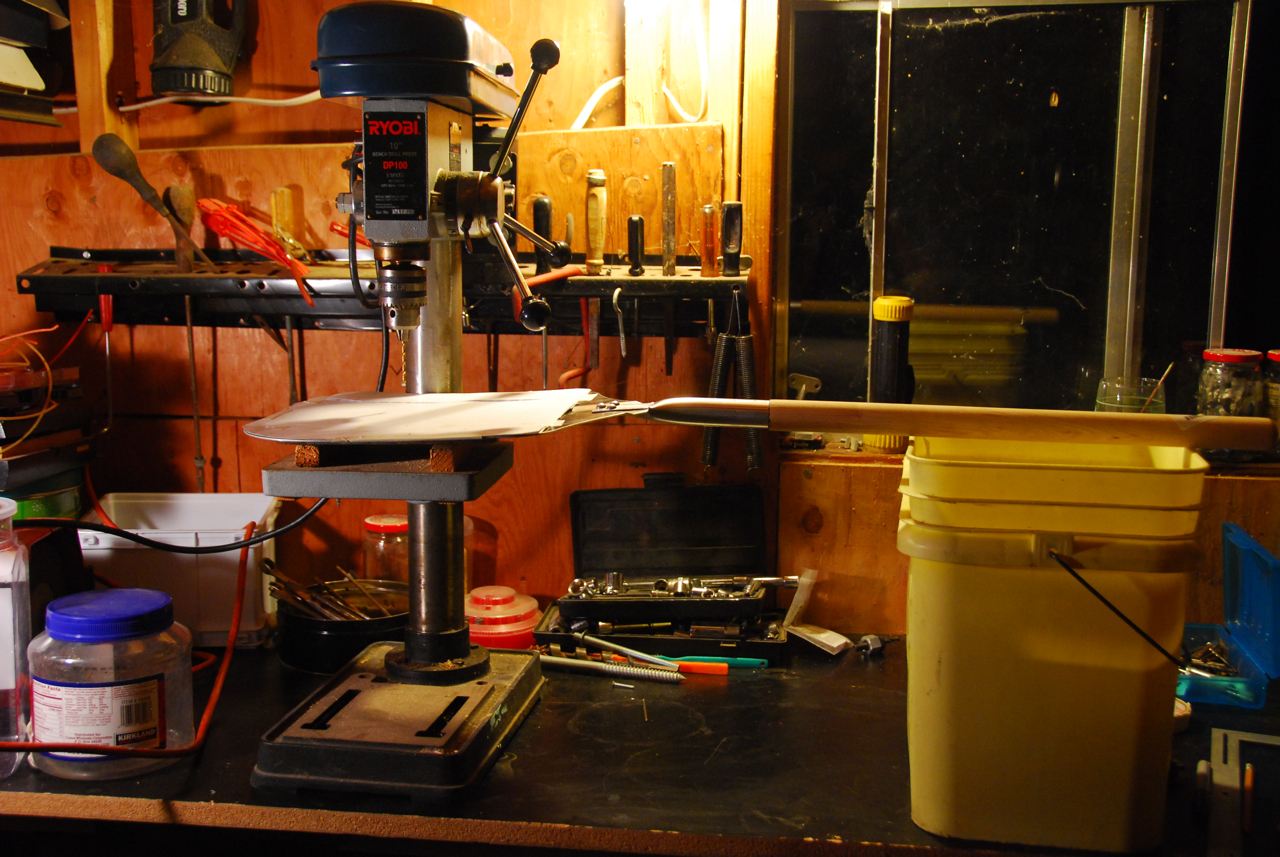
Put the small bit into the drill press (if you don’t have a drill press, a hand drill will suffice but will add some tedium to the project). Place the scrap piece of wood underneath the peel to help minimize distortion. Slowly drill through each dot on the template.
With the 10″ drill press I was using, there was one small section in the center that I was unable to reach. I decided to leave this as-is, instead of doing it by hand. I don’t think it will make a big difference. Also, I used a small bucket as a riser for the handle of the peel, but make sure the level is pretty close – you want the surface to be as flat as possible so you don’t end up bending the aluminum.
Step four:
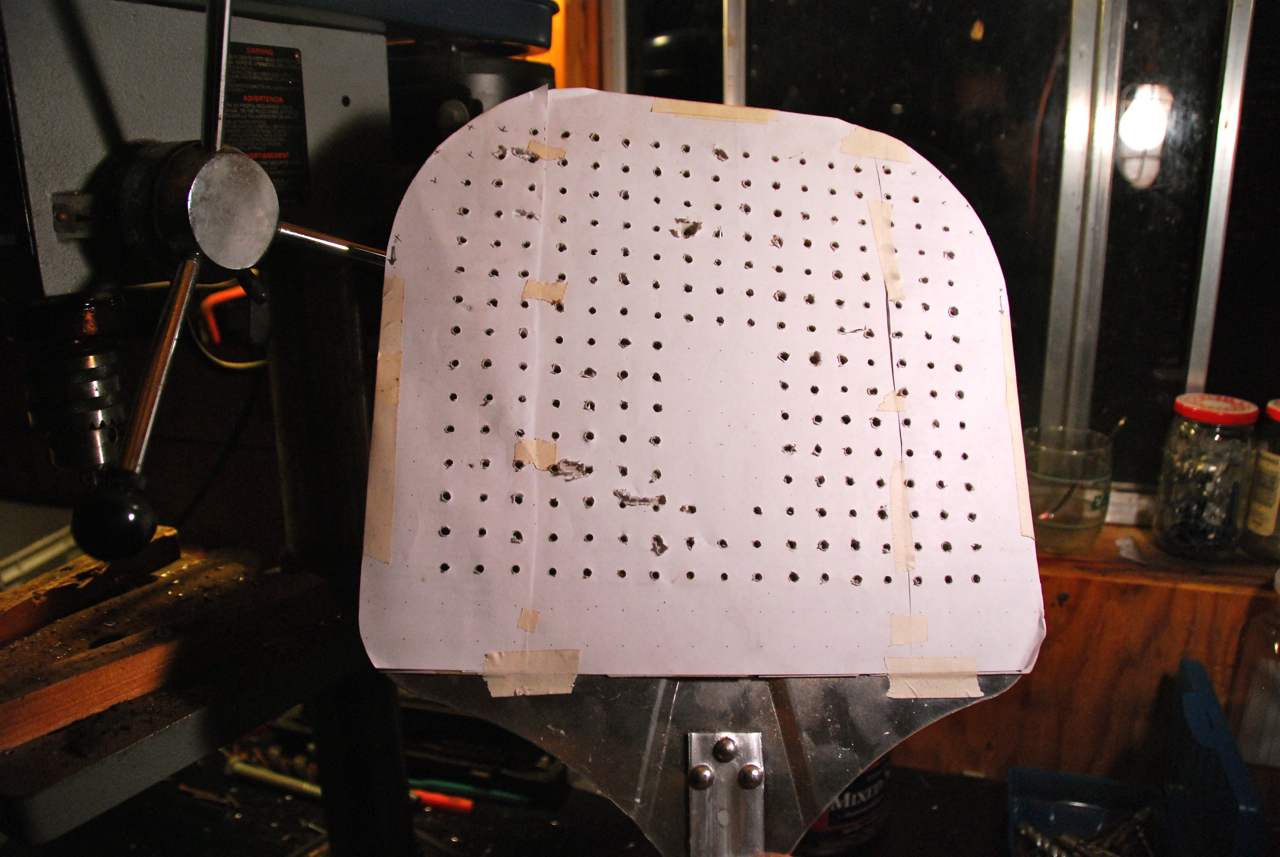
Using the middle sized drill bit, carefully enlarge each hole.
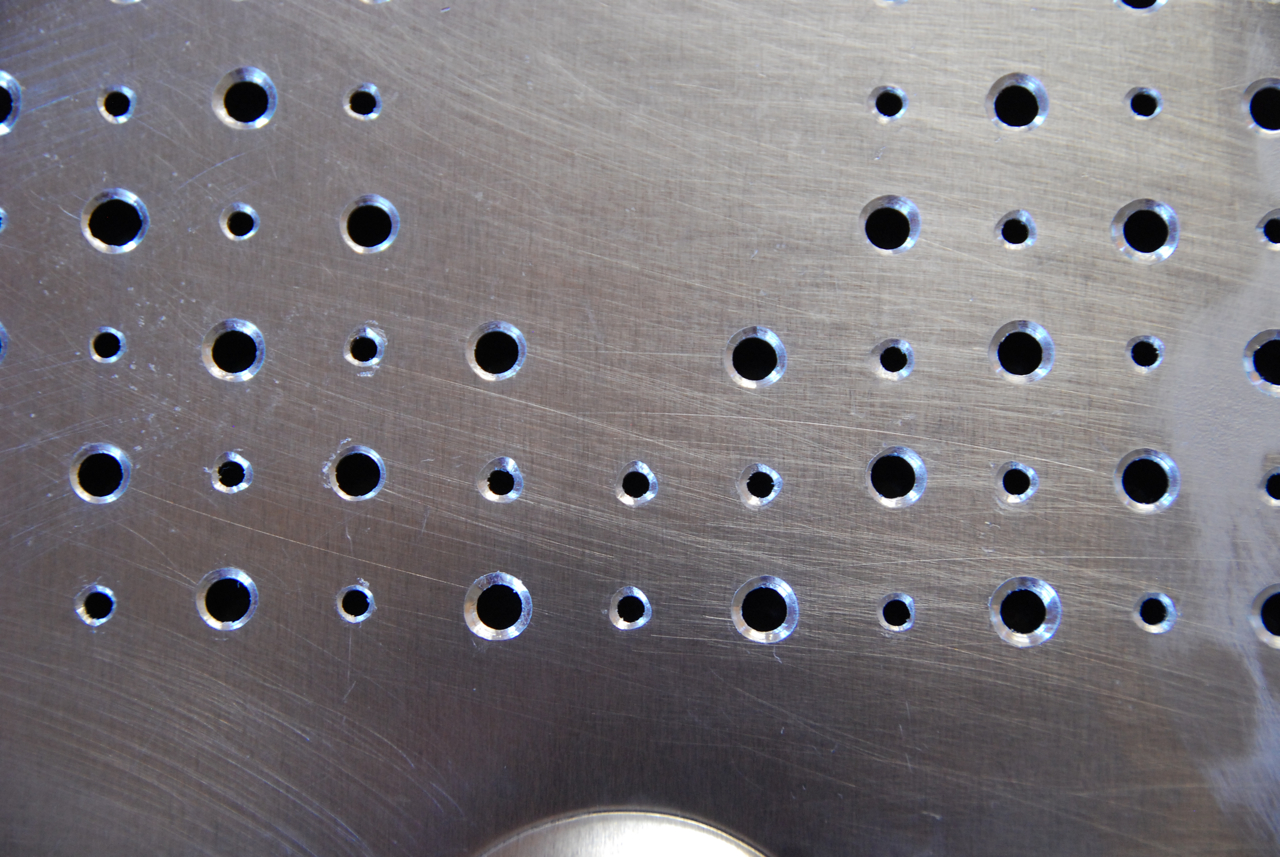
At this point I started to wonder if I was going to compromise too much of the peel’s strength so I opted for an alternating pattern of small holes and larger holes, with the front edge and both sides larger holes.
Step five:
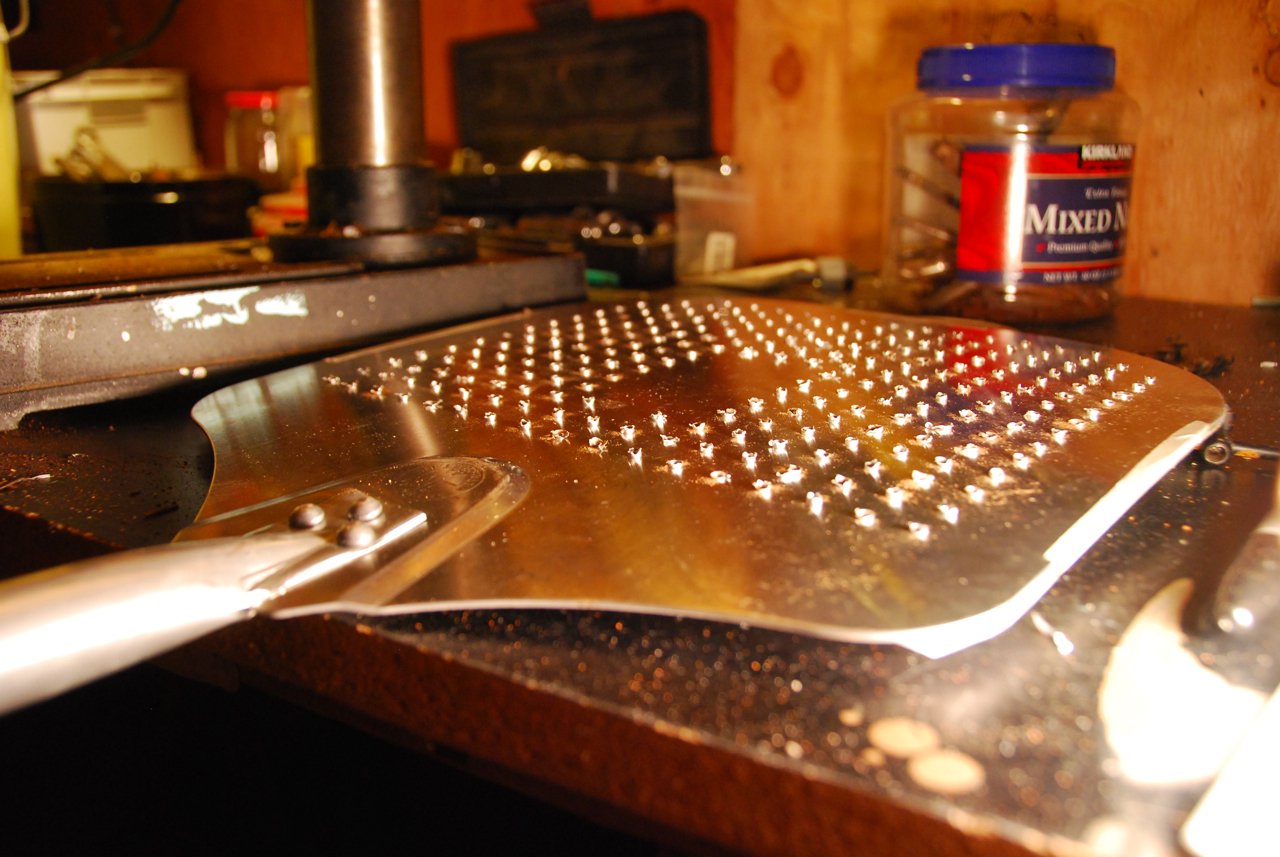
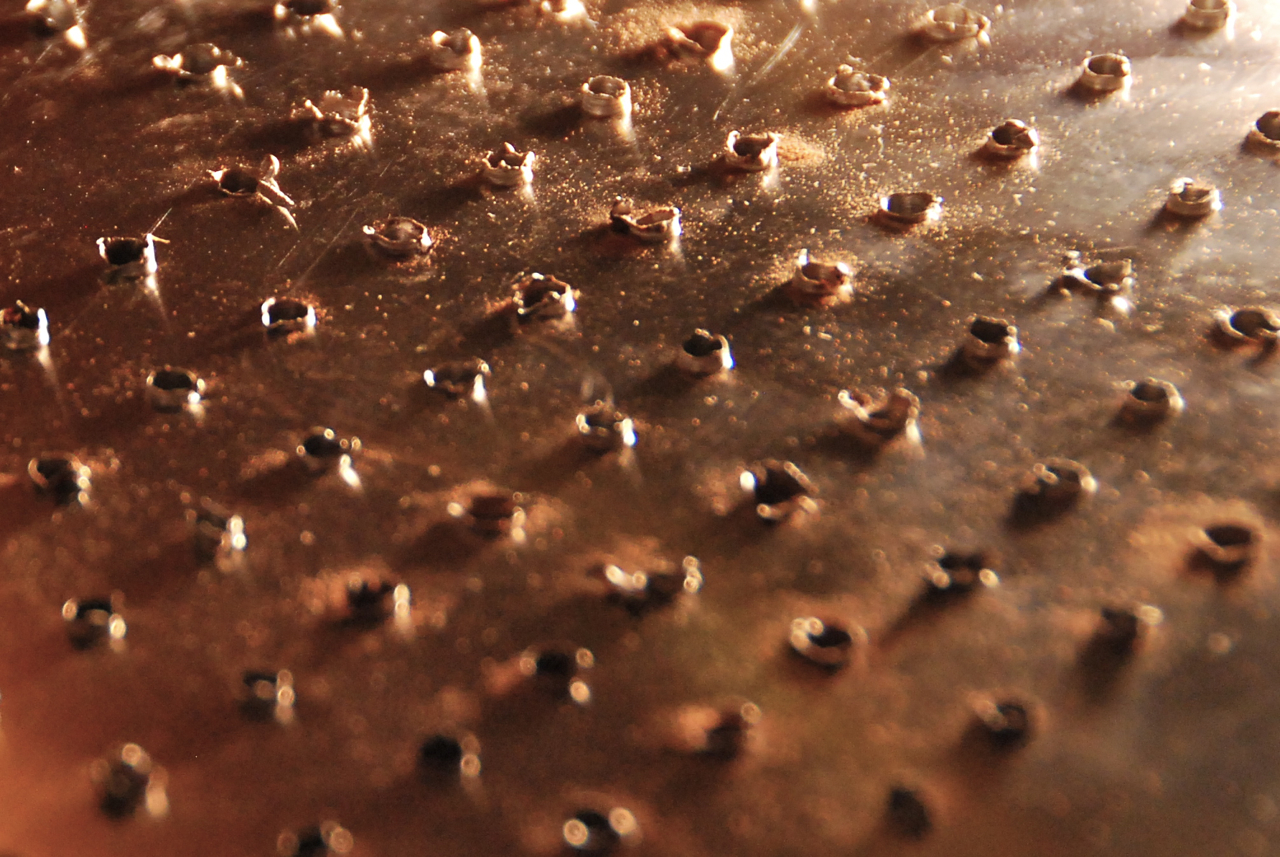
Remove the cardboard template. The top holes will look pretty good, but you’ll have a fair amount of flanging coming off the drilled holes. Using the largest of the three drill bits (make sure it has a very slightly tapered head), VERY slowly drill the excess off the peel. Bevel the edges by pressing just part way beyond the surface of the peel. Do this for all the holes, flip and repeat on the back side – this will give you a nice smooth surface.
One thing not to do: wire brush on a grinder or drill. This won’t take the flanging off the drilled holes, but will leave a roughed-up, pitted area.
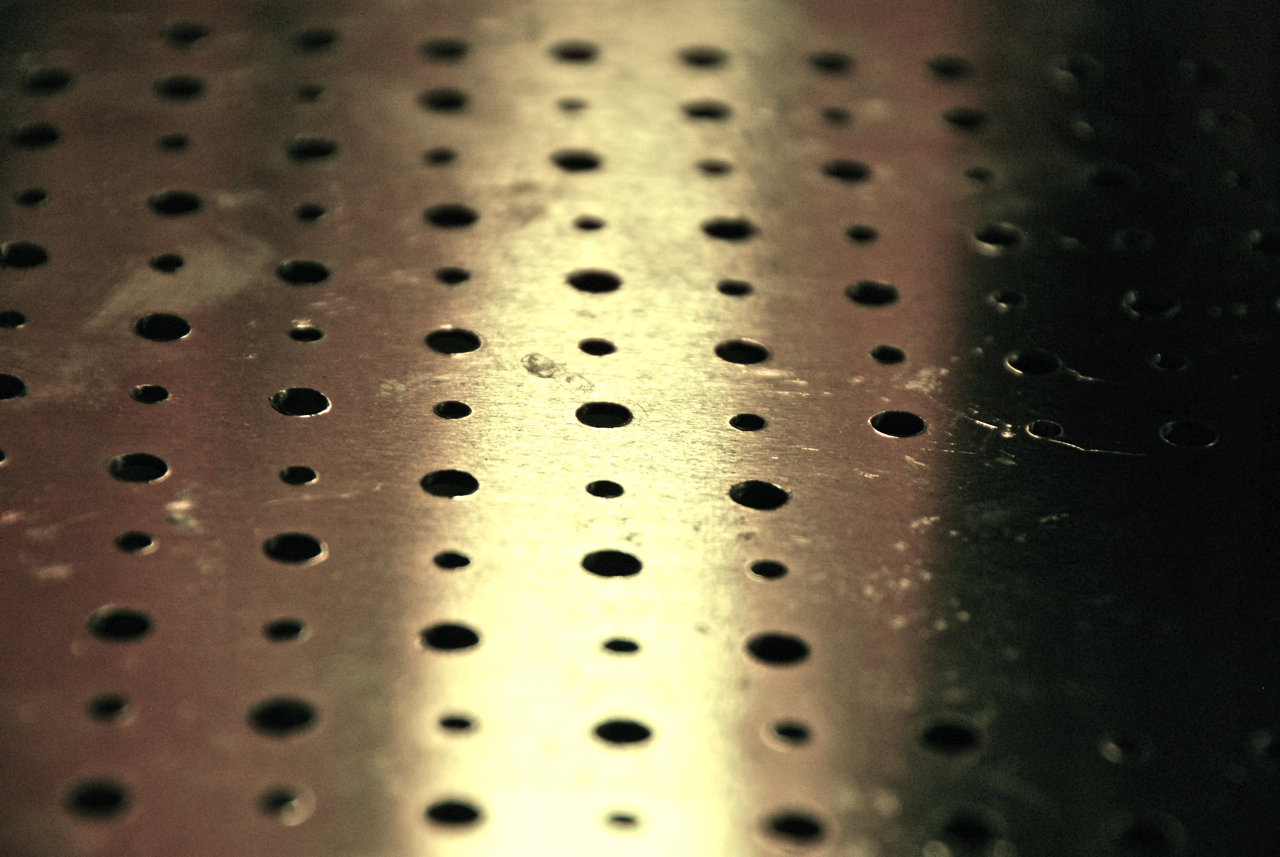
That’s it! Perforated pizza peel ready for action.

Hi, I'm Mike. I’m the executive editor of Make: magazine, and host of Discovery channel’s Punkin' Chunkin' and Catch It Keep It, TV shows where I build and explain crazy machines that crush stuff, blow things up, shoot fire, all in the name of science.
I've previously worked at Wired and ReadyMade magazines, writing about how to utilize new technology in our everyday lives.
This site is where I keep a list of instructions for fun projects I've done, am working on, or draw inspiration from. I encourage everyone to get involved — get up and do something!