How to Make A Digital Pinhole Camera – Fast, Cheap and Easy
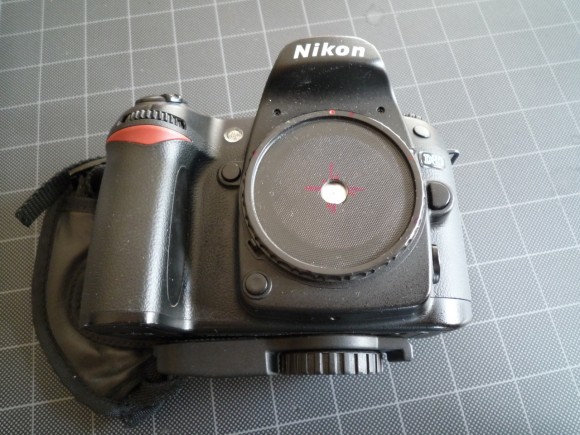
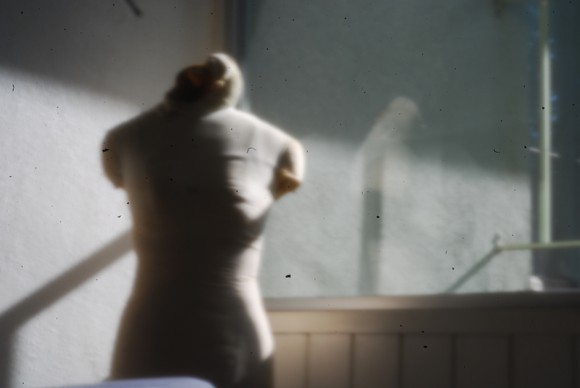
 The most basic style of camera is the pinhole camera, usually a light-proof box that holds a piece of film inside. When the pinhole is uncovered, the film is exposed for an arbitrary amount of time, and later developed to discover the results. The images often have a soft, almost ghostly look that is very distinct and artsy.
With the advent of digital SLR cameras in the past few years, you can now make an easy version of this same simple camera that uses a digital sensor instead of film, and simple materials you already have at hand. Here’s how to make your own.
Materials
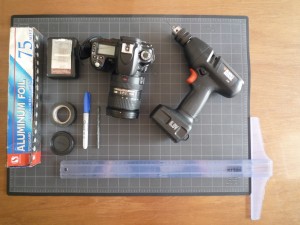 • Digital SLR camera
• Spare body cap (get one cheap on Amazon or Ebay)
• Drill
• Two drill bits, one small and one medium (1/16″ and 1/4″ should work fine)
• Aluminum foil
• Ruler/Triangle
• Marker
• Black electrical tape
• Gummy eraser or other similar material
• The thinnest needle you can find
Step One: Mark the center of the body cap. There are a couple easy ways to find the center of a circle, using a right triangle or a compass. I opted for the triangle method as I have a t-square handy.
Place the corner of the triangle at any point along the perimeter of the cap.
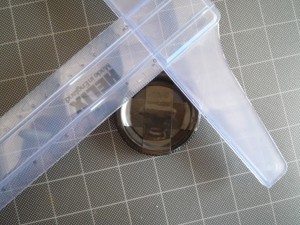
Mark the point on the perimeter of the cap where one of the legs of the triangle intersects.
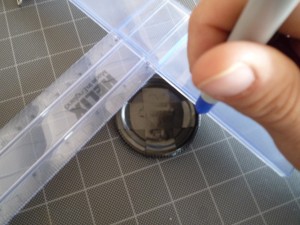
Mark the point where the other leg intersects, directly opposite your first point.
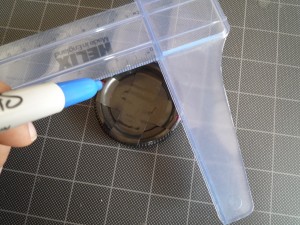
Draw a line that connects the two marks. It’s not necessary to have the line extend to the edges.
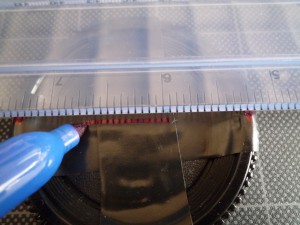
Rotate the cap so another point on the perimeter is intersecting with the corner of the triangle. Mark two new points on the perimeter the same way you did before. Draw a line between them. The location where this line crosses the first one you drew is the center of the body cap.
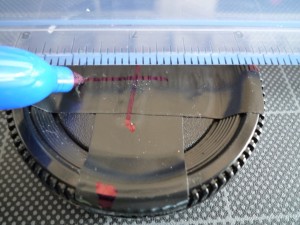
Step Two: Drill a hole in the center of the cap. We’ll use two bits for this, the smaller one to make a pilot hole, and the larger one to open the size of it. The pilot hole keeps the larger bit from drifting around.
First, make a pilot hole using your drill and the smaller bit set to a slow speed. 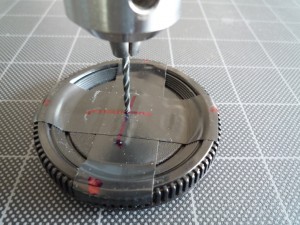
Next, still on a slow speed, drill through the pilot hole with a larger bit. It’s OK if this doesn’t match the exact centerpoint of the body cap – as long as it is near to the middle, you’re OK.
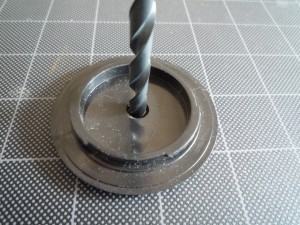
Step Three: Affix the aluminum foil. This will be the material that you will perforate with the pin. Try to keep it as smooth as possible.
Cut a small square of foil, small enough to fit inside the body cap mount.
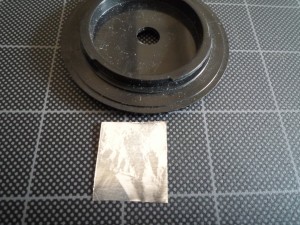
Using black electrical tape, affix the foil to the center of the cap. You may need to trim the tape to fit flush. Be careful to keep the foil as wrinkle-free as possible. Note: You can also put the foil on the front side. Experiment and see what results you get.
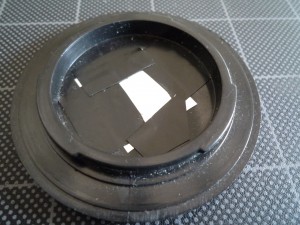
Step Four: Make your pinhole. This is the key part of the process. You want to try to get the pinhole as close to the center of the body cap as possible, and as small and symmetrical as possible.
If you decided to put the foil on the back of the cap, it will be slightly trickier to find the centerpoint. You may try to connect the lines with a fine-tipped marker to recreate that intersection. Just make sure to keep the foil from denting or wrinkling as much as you can (see next step for a tip).
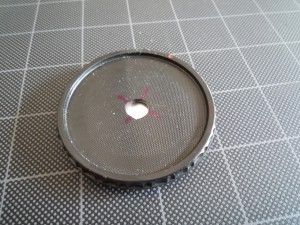
Place an eraser or piece of firm putty that is larger than the whole you’ve drilled against the foil to create a firm surface to push against with the needle (use this for writing on the foil if you feel the need for that step.
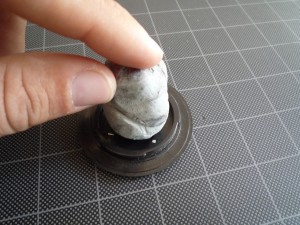
Flip the cap and eraser over, and with your thin needle, make a very tiny prick through the foil. You don’t want the entire needle to go through it, just the tip of the needle. Try to keep the needle as perpendicular to the cap as possible.
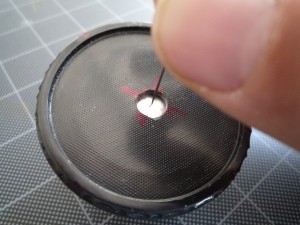
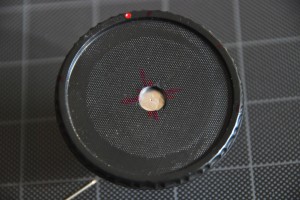
Done! You can now remove your fancy, expensive glass lens and experiment with digital pinhole photography.
How to use it
With the tiny aperture of the pinhole, you’ll likely need to use a tripod (or mount of sort) to take steady photos of anything but the brightest images.
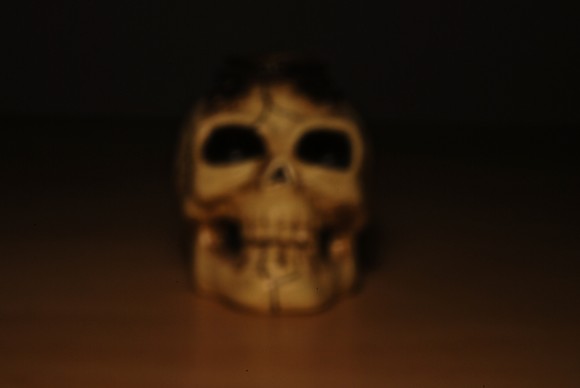
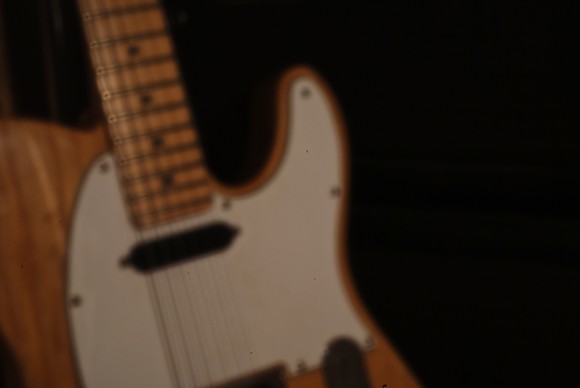
Set the camera to Manual, and adjust the shutter speed as needed. I took the following photos with shutter speeds anywhere from 15 seconds to 2 seconds.
To avoid any unwanted movement when releasing the shutter, set your camera to a short timer release (mine is at 2 seconds).
I found that keeping the ISO as low as possible helped keep the images looking clean, as the ghostly look of the pinhole doesn’t work well with the noise of higher ISOs.
CLEAN THE DUST OFF! You might notice my cap is very dusty. This is not good for the camera, as you’ll be exposing the sensor to a lot of debris. Give the cap a good dusting before use.
Experiment! See if different positions of the foil make differences in the images. Does an off-center pinhole change the image drastically? Try two or more pinholes for a double-image look.
